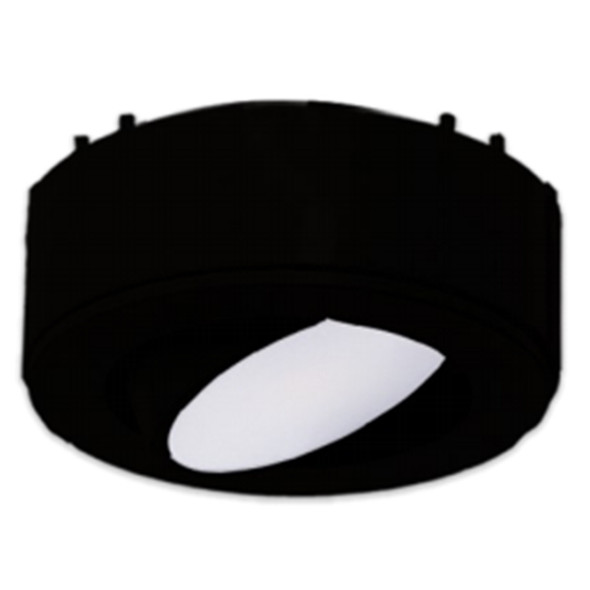
Puck Light Selection Guide
Puck Lights: Pick the Power Source, Then the Puck
Every puck light decision starts with the same fork: hardwired, plug-in, or low-voltage system. Get that right and the rest is finish and beam preference; get it wrong and you are returning fixtures. The comparison below settles it before you browse. Product pages show live stock availability, in-stock orders ship within 24 hours, and shipping is free on every order with no minimums.
Hardwired, Plug-In, or 12V System: Which Puck Light Fits?
| Power Type | How It Installs | Best For | Trade-Offs |
|---|
| 120V hardwired | Wires to a switched circuit, no visible cords | Kitchen remodels, new construction, permanent display cases | Needs an electrician or existing box; cleanest result |
| 120V plug-in | Plugs into an outlet, often with inline switch | Retrofits, rentals, shelving, entertainment centers | Cord management under the cabinet run |
| 12V low-voltage | Runs off a transformer shared with other 12V fixtures | Whole-kitchen undercabinet systems, integrated designs | Requires transformer sizing; easiest to dim as one zone |
| Battery pucks (tap lights) | Stick-on, tap to operate | Closets and temporary spots with no wiring at all | Dim output and constant battery swaps; a stopgap, not a spec |
Individual LED puck lights typically draw just 1W to 5W each, so even a long cabinet run adds trivial load. Many are sold in sets of three to six with connecting cords included, and dimming support is listed per product for anyone putting the kitchen run on a wall dimmer.
Puck Light Spacing: The Numbers That Make It Look Professional
Layout is what separates a designer-looking installation from a scalloped mess, and it takes only three rules:
- Space pucks 8 to 12 inches apart for even task light across a counter; stretch to 18 to 24 inches when you want deliberate pools of accent light instead.
- Mount pucks 2 to 3 inches back from the cabinet's front edge so light lands on the working half of the counter, not against the backsplash.
- Plan roughly one puck per cabinet door width, then adjust at seams so no puck straddles a cabinet joint.
Inside glass-front cabinets and display cases, one puck per shelf section centered over the displayed items is the standard approach. Choose 2700K to 3000K to warm wood tones and dishware, or 3500K to 4000K for a cleaner retail-style presentation.
Puck or Tape: a Quick Gut Check
Pucks produce defined circles of light and install one point at a time; linear sources produce one continuous band. If you want an unbroken line of light along the whole counter, an undercabinet bar fixture or LED tape light run does that job better. The full assortment, including accessories, transformers, and connecting cords, lives under Undercabinet Lighting.
Planning a Whole Kitchen or a Display Wall?
A lighting specialist can sketch the puck count, spacing, and transformer sizing from your cabinet dimensions, and confirm live stock for the full set: call 855-775-4533 or open a ticket at the QuickShipLights support portal.